Introduction
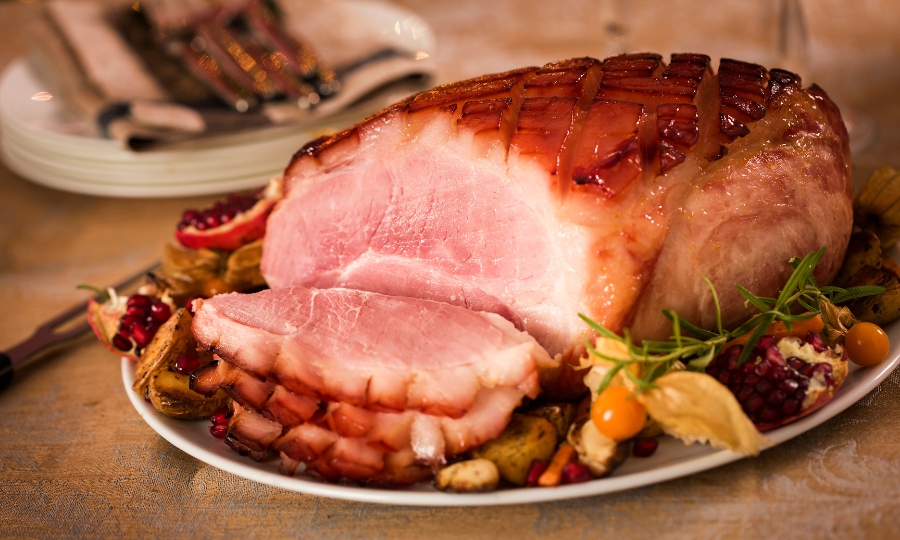
Transform your Christmas ham into a showstopping centrepiece with our comprehensive glazing guide!
As Sydney’s premier butchers, we’ve perfected the art of ham glazing through decades of experience. Follow our expert guide to create a perfectly glazed ham that will wow your guests this festive season.
1. Preparing Your Christmas Ham Before Glazing
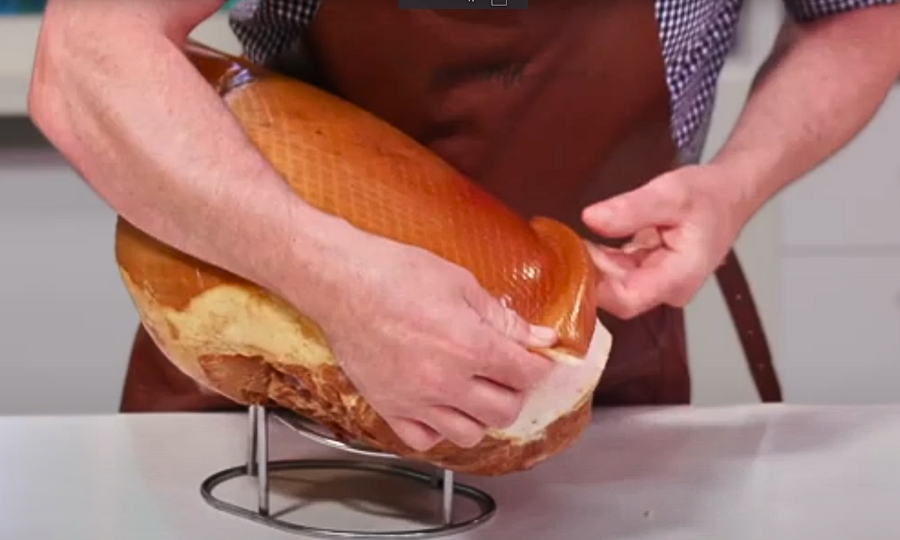
A well-prepared ham is essential for even glazing and optimal flavour absorption. Follow these steps to get your ham ready for its show-stopping glaze.
Essential Preparation Steps
Set yourself up for success by preparing both your ham and your workspace.
- Remove ham from refrigeration 1 hour before starting to allow it to reach room temperature, which promotes even cooking.
- Ensure workspace is clean and well-organised to make the glazing process smooth and enjoyable.
- Gather all necessary equipment so you have everything within reach.
- Pat ham dry with paper towels to help the glaze adhere and create a beautiful caramelised finish.
How to Remove the Rind
Removing the rind correctly is key to exposing the layer of fat underneath, which will absorb the glaze and add flavour.
- Starting at the bottom corner, slide your fingers gently under the rind.
- Lift and separate the rind from the fat layer, taking care to keep a 1cm layer of fat intact for scoring and glazing.
- Try to remove the rind in one piece; this creates a smooth, even surface for the glaze.
Equipment Checklist
Organise your tools to ensure a seamless process.
- Sharp knife for scoring
- Basting brush for applying glaze
- Roasting pan with rack to allow even cooking
- Meat thermometer for accurate temperature checking
- Silicone brush for final glazing
2. The Art of Scoring Your Christmas Ham
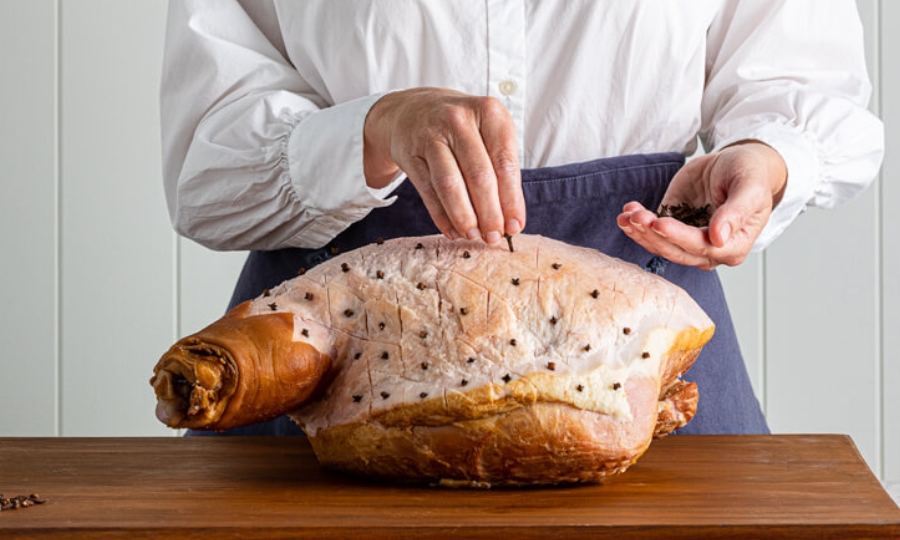
Scoring the fat on your ham helps the glaze penetrate deeply, allowing it to seep into every crevice for a more intense flavour with every bite.
Creating the Perfect Diamond Pattern
Achieve a classic, decorative look that also allows the glaze to sink in.
- Score the fat in diagonal lines, about 2cm apart.
- Create diamond shapes by scoring in the opposite direction.
- Maintain a consistent depth, ensuring you don’t cut into the meat, as this can cause it to dry out during cooking.
- Traditional diamond size should be around 2-3cm per side for a classic look.
Decorative Patterns
Take your ham presentation to the next level by experimenting with clove-studded designs.
- Place cloves at the intersections of your diamond cuts for a classic, festive look.
- Try geometric or circular patterns to give a modern twist.
- Traditional cross patterns and custom designs add a touch of holiday charm.
3. Signature Christmas Ham Glazes
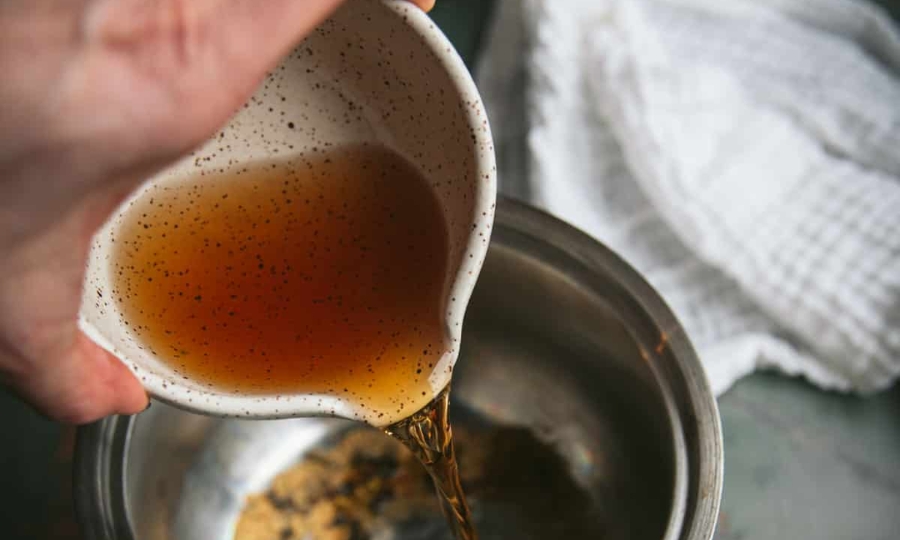
The right glaze transforms a simple ham into a festive favourite. Here are two signature glazes to suit any holiday gathering, whether you prefer a classic Xmas ham or bold flavour profile.
Traditional Honey Mustard Glaze
This glaze is a classic blend of sweetness and subtle tang, ideal for ham lovers who enjoy tradition with a twist.
Ingredients
- 1 cup honey
- 2 tablespoons Dijon mustard
- 1/4 cup brown sugar
- 2 tablespoons apple cider vinegar
Instructions
- Combine all ingredients and mix until smooth. Apply in thin layers over the ham during the final hour of cooking, allowing the glaze to caramelise to a golden finish.
Maple Bourbon Glaze
Perfect for a rich, indulgent flavour with hints of smoke, this glaze is a favourite among those who love a little extra depth.
Ingredients
- 1 cup maple syrup
- 1/4 cup bourbon
- 1/4 cup brown sugar
- 2 tablespoons butter
- 1 teaspoon cinnamon
Instructions
Simmer ingredients until thickened slightly. Brush on the ham, building layers of flavour for a beautifully caramelised finish.
4. Perfect Glazing Techniques
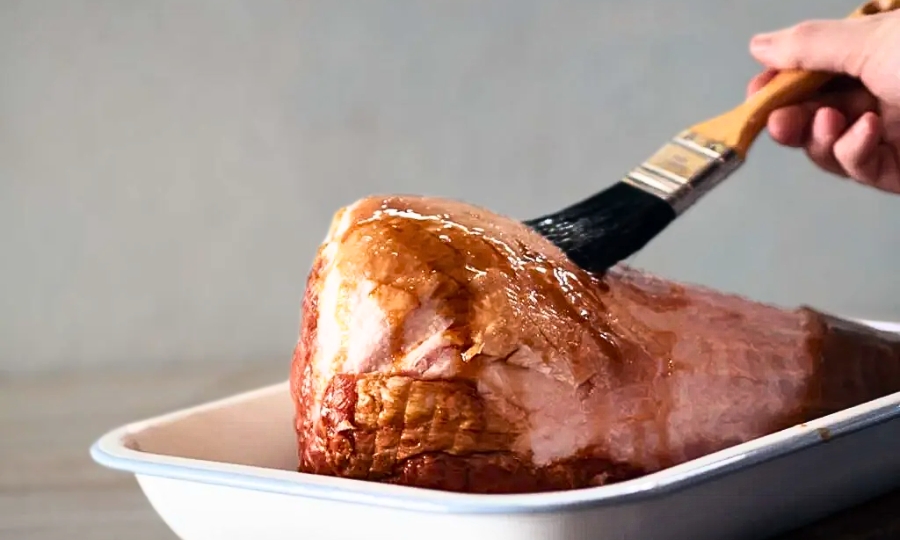
Applying the glaze correctly ensures a flavourful, evenly caramelised crust that will impress at any holiday table. Here are some tried-and-true techniques to get it just right.
Timing Your Glaze Application
To achieve the best texture and flavour, apply the glaze in thin, even layers.
- Start glazing 1 hour before the ham is done to allow for maximum caramelisation.
- Apply multiple thin layers, giving 15 minutes between coats for a rich, glossy glaze.
- Final high-heat glaze creates a stunning caramelised look, but keep an eye on it to prevent burning.
Preventing Common Issues
Avoid common glazing mistakes to keep your ham moist and flavourful.
- Maintain a consistent oven temperature to prevent the ham from drying out.
- Avoid over-scoring the fat to prevent juices from escaping.
- Use a meat thermometer to ensure the ham reaches the perfect internal temperature.
- If the ham starts to dry, cover with foil between glazing layers.
5. Christmas Ham Temperature and Timing Guide
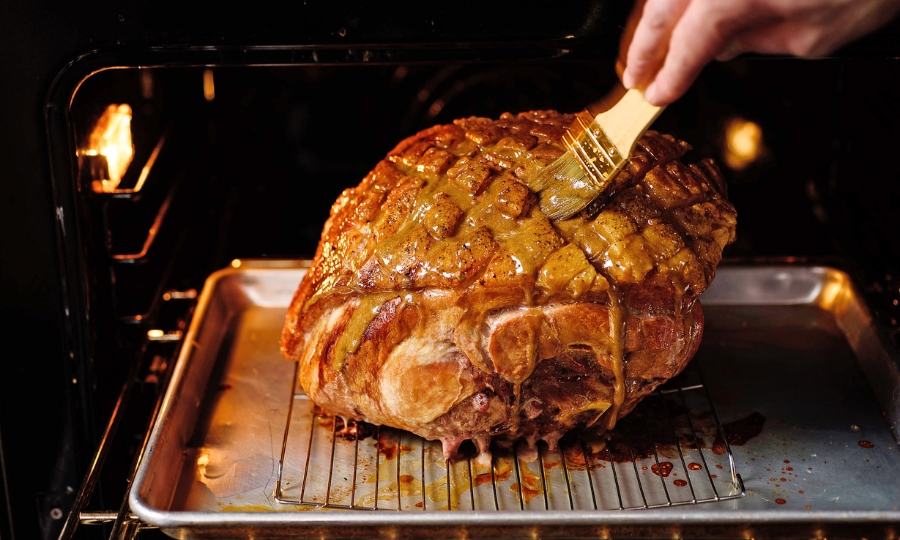
Cooking your ham at the right temperature and for the correct duration is essential for achieving tender, juicy perfection. Follow our schedule and checkpoints to get it right.
Optimal Cooking Schedule
Achieve an evenly cooked ham by following this step-by-step guide.
- Preheat oven to 160°C (320°F).
- Calculate cooking time based on 20-25 minutes per 500g of ham weight.
- Begin glazing after the initial hour, building up layers as it cooks.
- Final 20 minutes: Increase heat to 180°C for a beautiful golden finish.
Temperature Checkpoints
Ensure your ham is safe and succulent by checking the temperature at key points.
- Starting temp: 160°C for gentle cooking.
- Mid-cooking: Maintain 160°C for even heating.
- Final caramelisation: Raise to 180°C.
- Internal temperature target: 65°C, indicating the ham is fully cooked.
6. Presentation and Serving Your Xmas Ham
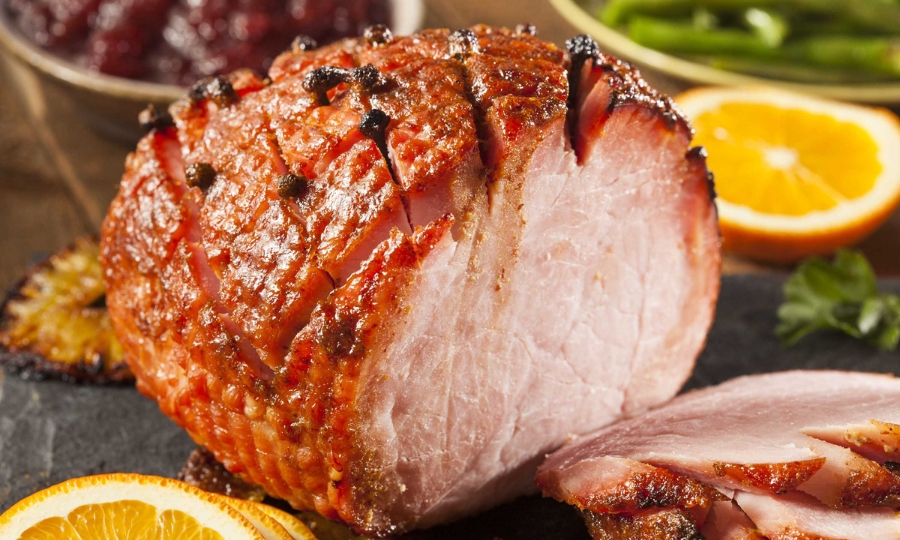
The way you present and serve your ham can elevate the entire dining experience. Here are some ideas to make your glazed ham the centrepiece it deserves to be.
Garnishing Ideas
Add visual appeal and fresh, complementary flavours with these garnishes.
- Fresh herbs like bay leaves and rosemary add an aromatic touch.
- Seasonal fruits like cherries, peaches, or pomegranate bring colour and a sweet contrast.
- Edible flowers add a touch of elegance.
- Glazed pineapple rings give a traditional, tropical touch.
Carving Guidelines
Carving the ham properly is essential to serving thin, juicy slices.
- Rest the ham for 15-20 minutes to allow juices to redistribute.
- Use a sharp carving knife to achieve clean, even slices.
- Follow natural muscle lines for the best slice texture and tenderness.
7. Xmas Ham Leftovers - Expert Storage Tips
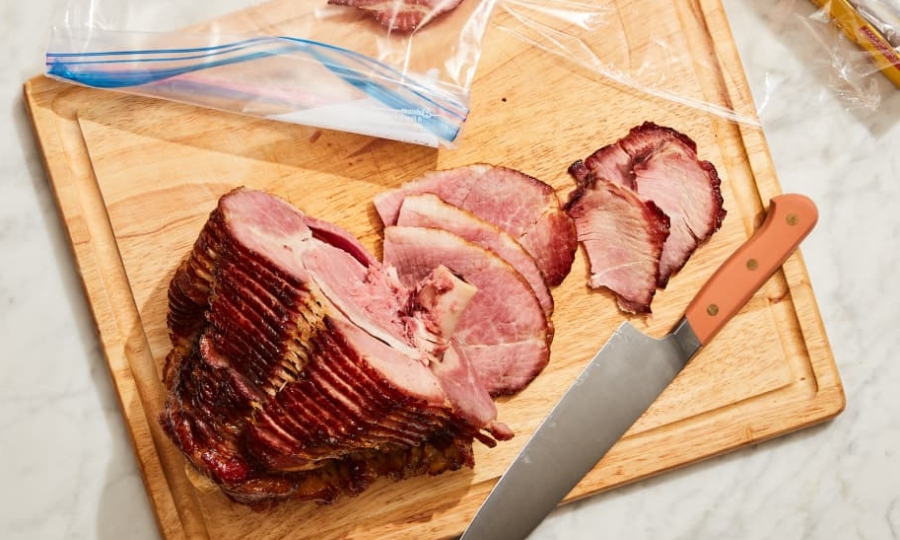
After all the hard work, keeping your ham fresh means you can enjoy it for days to come. Proper storage will maintain its flavour and juiciness.
Maintaining Freshness
Keep your ham fresh by following these storage tips.
- Store at 0-4°C in the refrigerator.
- Wrap it in a clean, damp cloth or a ham bag to retain moisture.
- Change the cloth daily for best results.
Leftover Management
Make the most of your ham by storing leftovers properly.
- Place leftovers in an airtight container and consume within 5-7 days.
- Separate the glaze from the ham to avoid sogginess.
- Monitor moisture levels, adding fresh glaze before reheating for added flavour.
Conclusion
Shop online today at Tender Gourmet Butcher



 |
| 
